
Best Practices for Stitching a Needlepoint Canvas
At Georgie & Lottie Co., we believe needlepoint should feel clear, calm, and enjoyable. Whether you are stitching your very first canvas or you have completed a few projects and want cleaner results, strong fundamentals matter. Good habits make stitching easier, improve how your canvas finishes, and help your work last.
This guide walks through needlepoint canvas best practices that apply to beginners and stitchers who already know the basics but want to stitch more confidently and correctly.
Always Start Stitching on an Edge
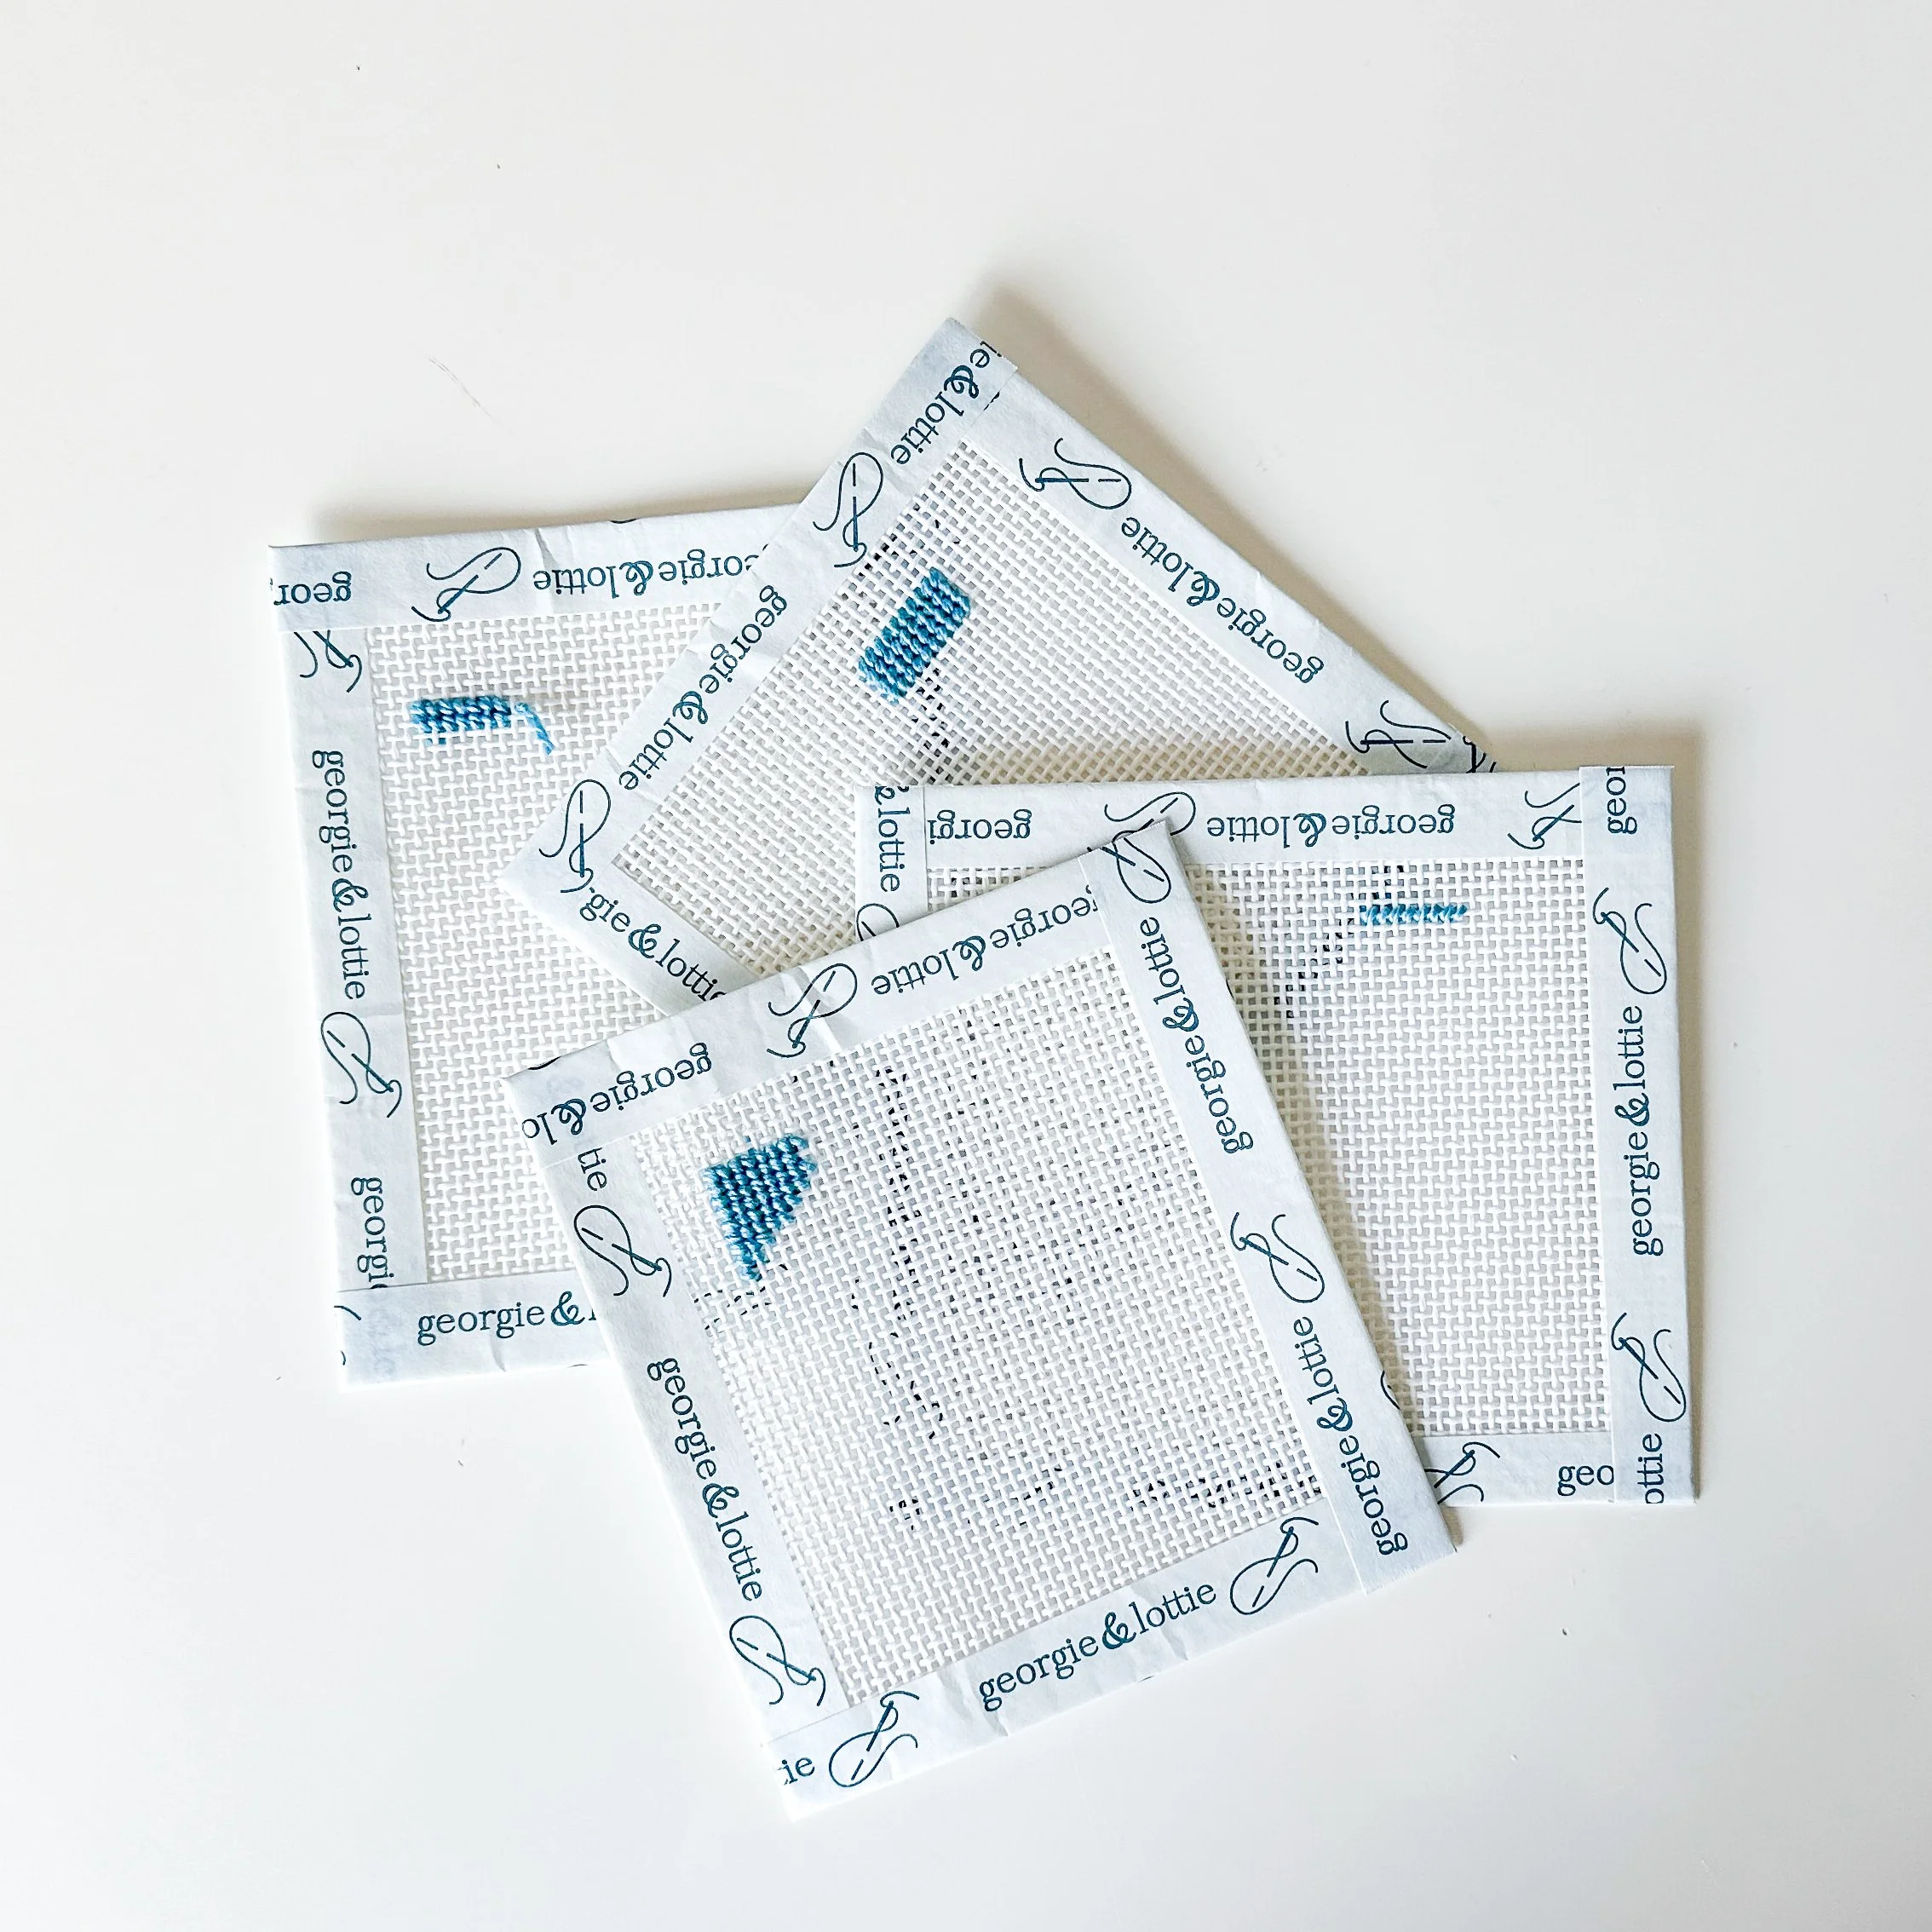
One of the most important needlepoint best practices is where you begin stitching. We recommend starting on the edge of the canvas design.
Starting on an edge gives you control over direction, spacing, and tension. It also helps you avoid awkward stopping points and makes it easier to manage color changes cleanly.
Choose a clear design edge such as the top of a border, the bottom of a shape, or the outside edge of a background area.
Edge starts create cleaner results and a more professional finish.
Start With Light Colors First
Best practice is to stitch light colors before dark colors.
Dark fibers can shed and transfer dye onto lighter threads if stitched first. Once that happens, it cannot be fixed. Starting with light colors protects the clarity of your design and keeps whites, creams, and pastels clean.
Work from light to dark within each area of the canvas. This applies to backgrounds, lettering, and decorative elements.
This practice is especially important when using wool, silk, or hand dyed fibers, which are more likely to transfer color.
Using high quality needlepoint fiber also reduces shedding and improves stitch consistency. Our kits all have high quality fibers.
learn how to do a waste knot in needlepoint
Use a Waste Knot to Start Every Thread
A waste knot is the cleanest and most reliable way to start a new fiber on a needlepoint canvas.
To create a waste knot, tie a knot at the end of your fiber and bring the needle up through the front of the canvas several stitches away from where you plan to begin. Stitch toward the knot, securing the thread on the back as you go. Once the thread is anchored, cut the knot off from the front.
This method keeps the back of the canvas flat and avoids bulky knots that interfere with finishing. It also prevents threads from pulling loose over time.
Choose Beginner Stitches That Support the Canvas
You do not need many stitches to stitch well. Using the right stitches matters more than using lots of them.
The continental stitch is often the first stitch learned. It is simple and offers good coverage, but it can distort the canvas if used over large areas.
The basketweave stitch is the most important stitch to learn early. It alternates diagonal rows and distributes tension evenly across the canvas, helping it stay straight. Basketweave is ideal for backgrounds and larger color blocks.
Once you are comfortable, mosaic stitch and brick stitch are good next steps. They add visual interest while maintaining structure.
Many Georgie & Lottie Co. needlepoint kits are designed with beginner friendly stitches in mind.
Pay Attention to Tension From the Start
Even tension is essential for clean needlepoint. Pulling too tightly warps the canvas. Stitching too loosely creates uneven coverage.
Your stitches should sit comfortably in the canvas holes without pulling them out of shape. Let the needle pass through naturally and avoid yanking the thread.
Check your canvas often. If it starts to curve or bow, adjust your tension immediately. Using stretcher bars can help, especially on larger projects.
Do Not Travel Far on the Back of the Canvas
Carrying thread across large open areas on the back of the canvas is a common beginner mistake.
Long carries can show through lighter colors, waste thread, and create uneven wear over time. As a best practice, do not travel more than a few stitches on the back.
End your thread and restart with a new waste knot when moving to a distant area. This keeps the back neat and improves durability.
ending your needlepoint thread
End Threads Cleanly Without Knots
Just like starting threads, ending threads correctly matters.
To end a fiber, run the needle under several existing stitches on the back of the canvas, then trim close. Avoid tying knots. Knots add bulk and can cause issues during professional finishing.
A flat, clean back allows your piece to finish smoothly and professionally.
Final Thoughts on Needlepoint Canvas Best Practices
Good needlepoint is built on good habits. Starting on an edge, stitching light colors first, using waste knots, and choosing supportive stitches all lead to better results.
These practices help your canvas stay straight, your stitches stay clean, and your finished piece last longer. Whether you are stitching your first canvas or your tenth, returning to these fundamentals will always improve your work.
Needlepoint does not need to be complicated to be done well. It just needs consistency, patience, and the right approach.
Happy stitching! xx