
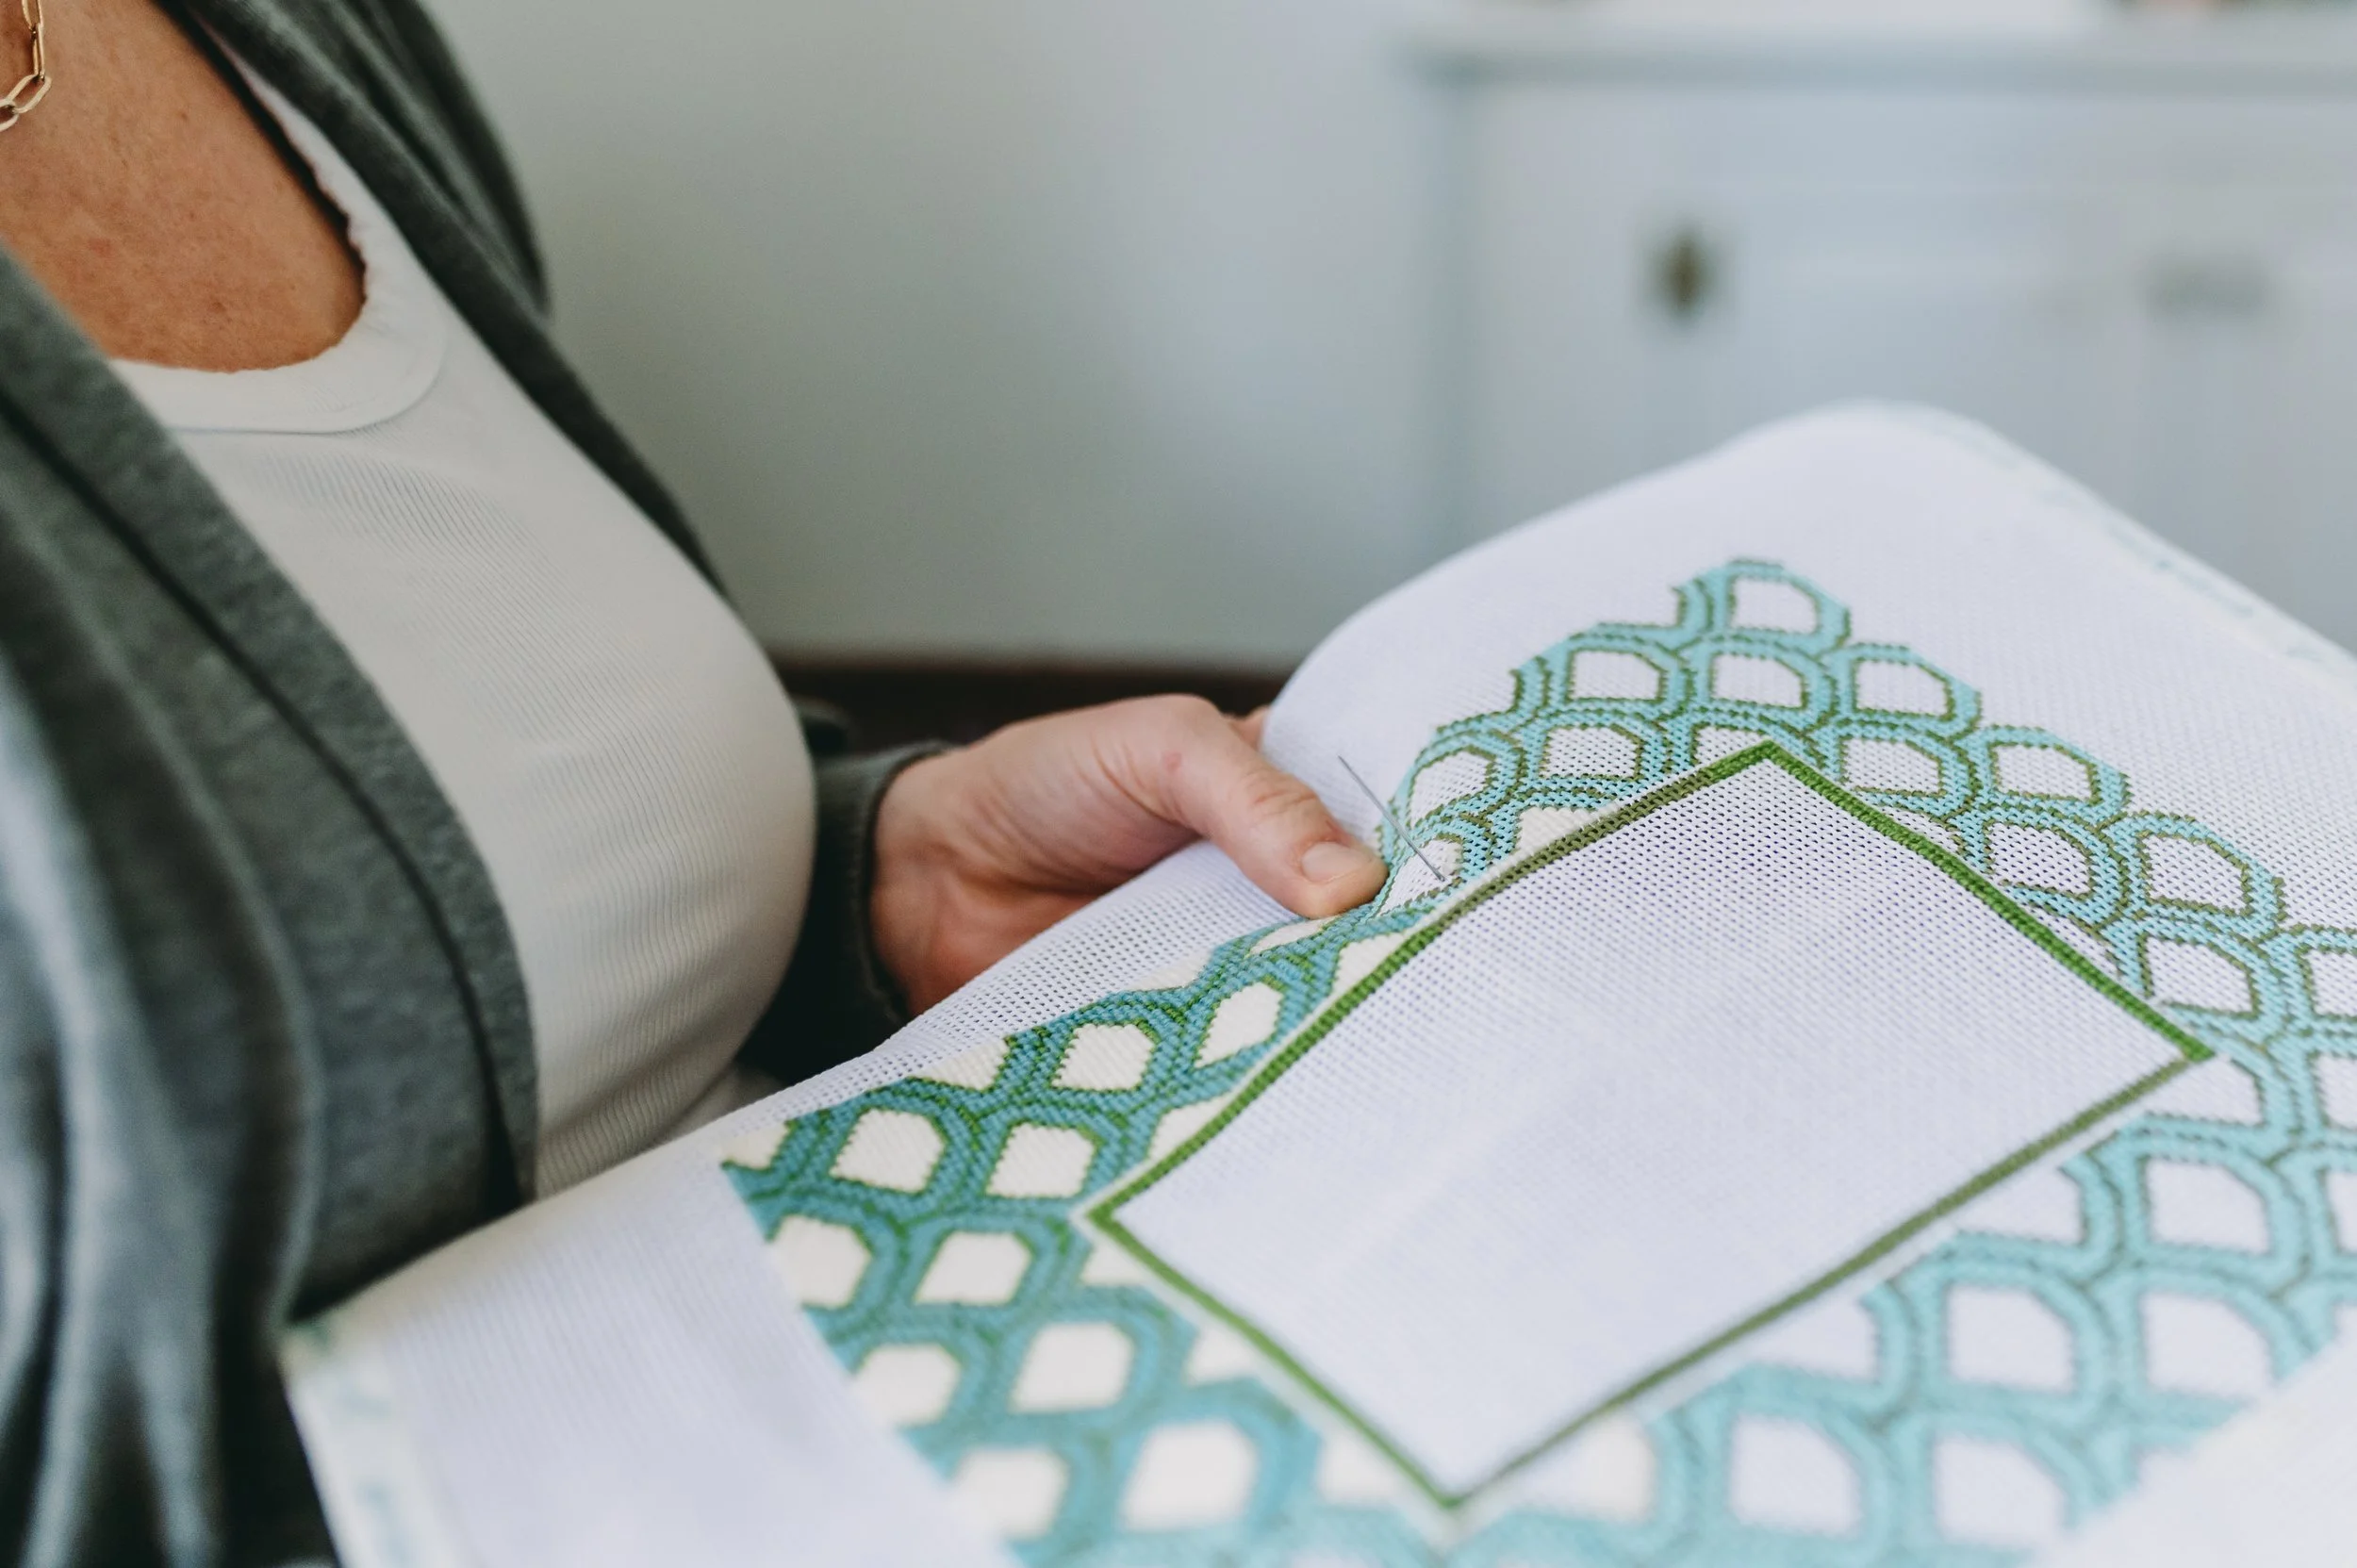
How to Fix Common Needlepoint Problems Without Starting Over
Let’s Start With the Good News
We’re Georgie & Lottie Co., and before we get into the fixes, here’s the most important thing to know:
Almost nothing in needlepoint requires starting over.
Loose stitches, missed stitches, uneven tension, messy backs, even choosing the “wrong” fiber or stitch—these are all normal parts of learning. Most problems are fixable, and many don’t actually need fixing at all.
This post is here to help you pause, assess, and decide calmly what’s worth addressing and what’s better left alone.
First Rule: Don’t Fix Little Mistakes
Let’s establish this upfront.
If a mistake:
Doesn’t bother you
Isn’t noticeable from normal viewing distance
Doesn’t affect the structure of the piece
You can leave it.
Needlepoint is not about microscopic perfection. Over-fixing often causes more frustration than the original issue. The goal is progress, not perfection.
With that in mind, let’s walk through the most common beginner problems and what to do about them.
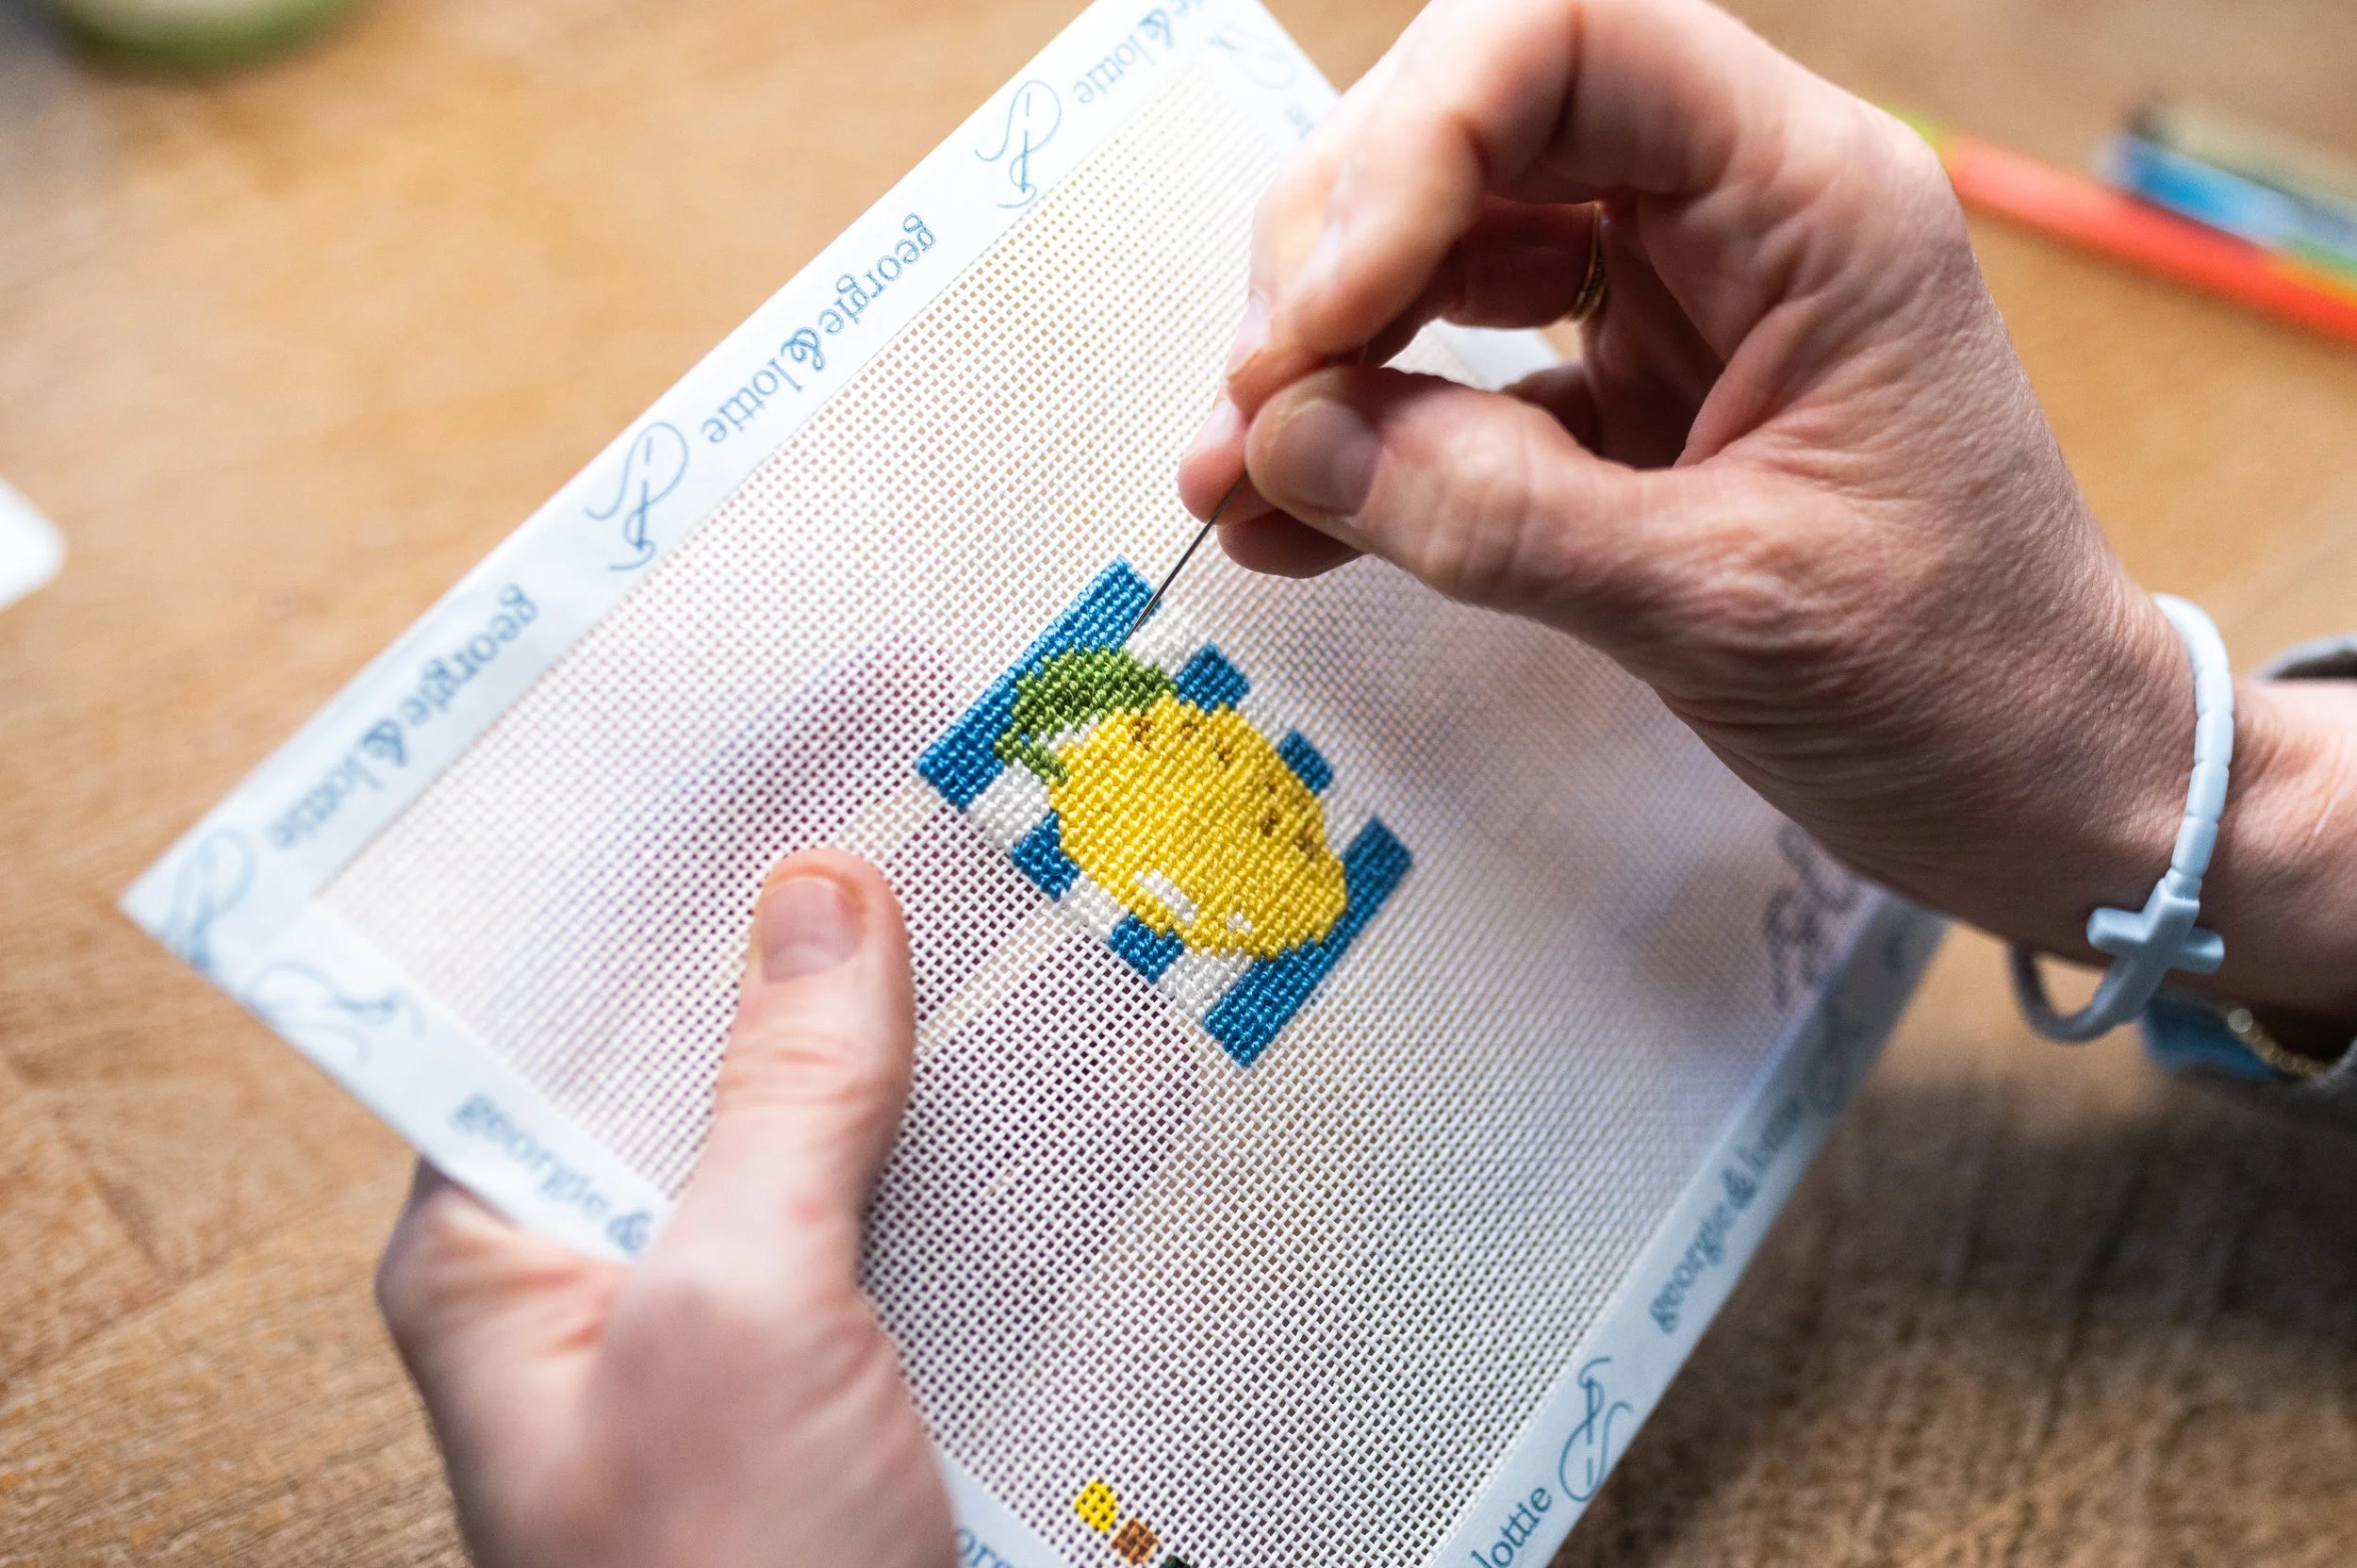
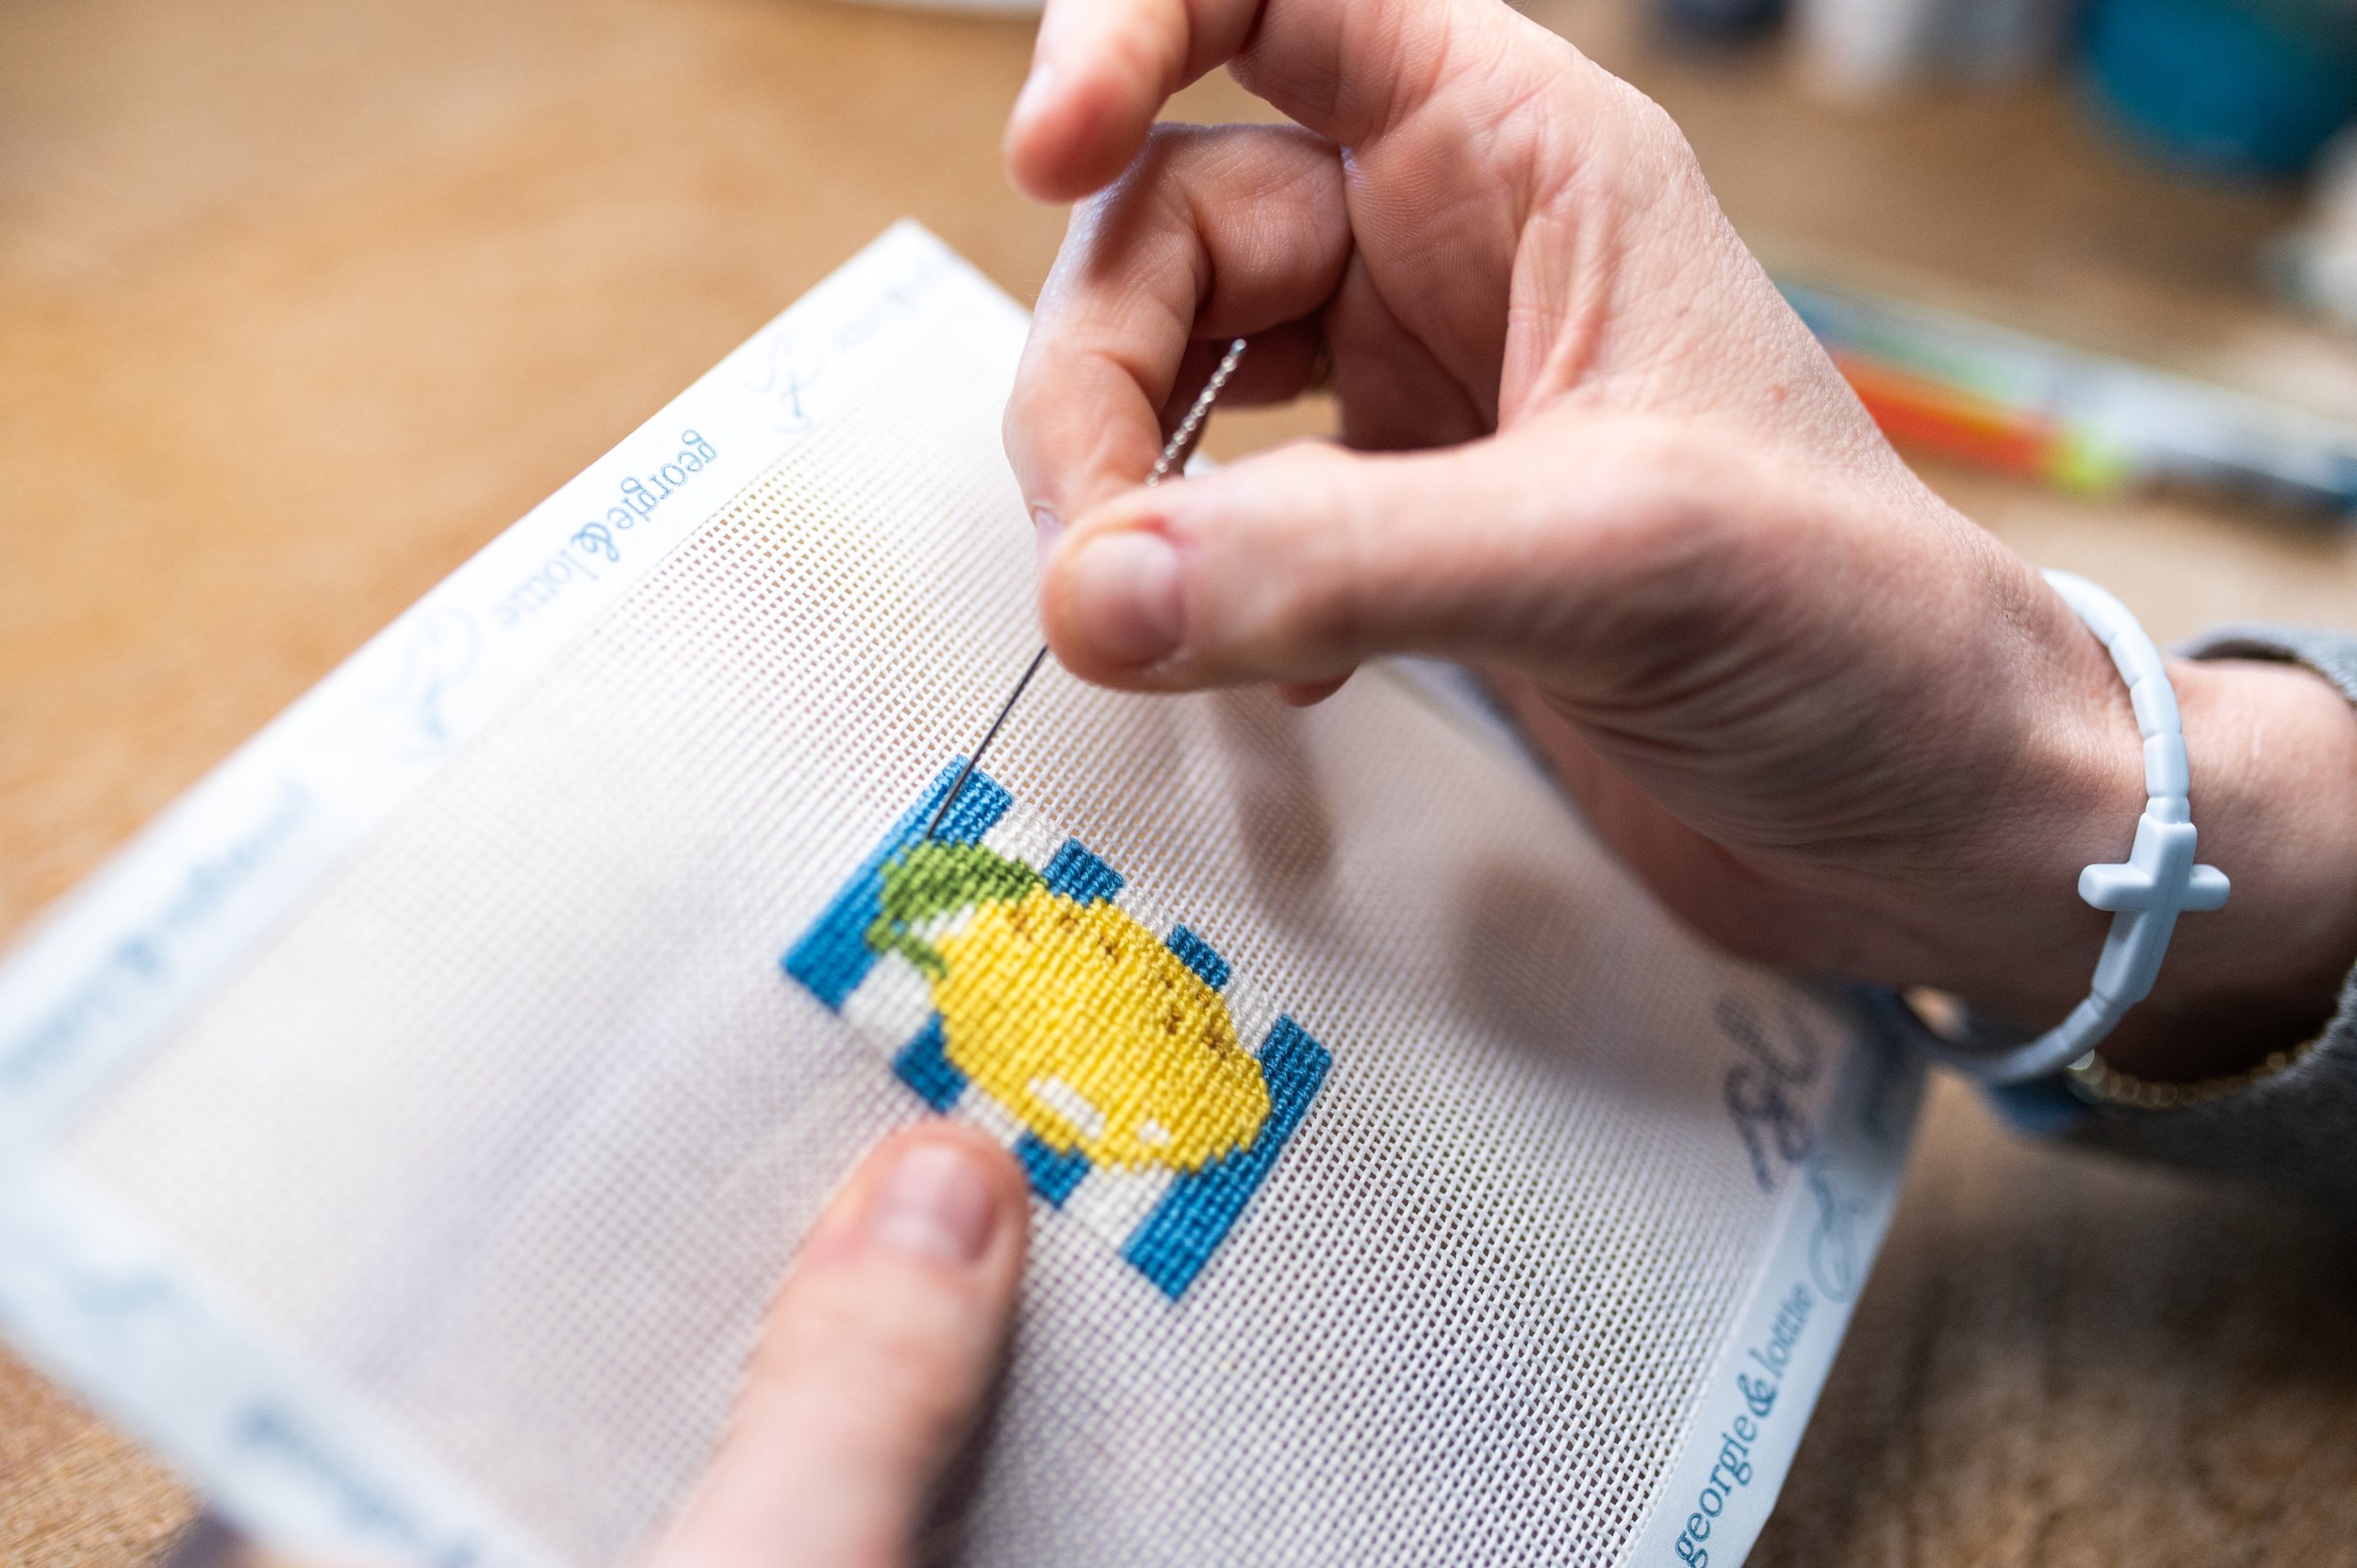
Problem 1: Loose or Rogue Stitches
What’s happening
Loose stitches happen when tension changes, your project gets moved around, or your thread relaxes over time. It’s incredibly common, especially early on.
What to do
Before you rip anything out, try this:
Turn your canvas to the back
Gently tug the thread tails connected to the loose stitch
See if the stitch settles back into place
If it needs a little extra help, a Snag Nab-It is a great tool to keep nearby. It allows you to pull the loose stitch through to the back cleanly without damaging surrounding stitches. We always keep one on hand, which is why it’s included in our Needlepoint Rescue Kit.
When to leave it
If the stitch looks fine from the front and doesn’t catch your eye every time you look at it, leave it alone.
Problem 2: Missed Stitches or Skipped Intersections
What’s happening
You’re stitching along, everything feels great… and then you notice a tiny gap. This usually happens when you’re getting into a rhythm.
What to do
Ask yourself one question: Can I see this without actively searching for it?
If yes, you can usually add a stitch later without issue. We have a video to show you how!
If no, congratulations — you just found a mistake that no one else will ever notice.
Needlepoint is incredibly forgiving. One skipped intersection rarely affects the overall design.
When to leave it
If fixing it means disturbing a lot of surrounding stitches, it’s usually not worth it.
Problem 3: Uneven Tension
What’s happening
Early stitches often look looser or tighter than later ones. This is normal. Your hands are learning.
What to do
Instead of trying to fix earlier stitches:
Focus on stitching consistently moving forward
Let your hands settle into a rhythm
Trust that things will even out visually as the canvas fills in
Uneven tension almost always becomes less noticeable as more stitches are added.
When to leave it
If the canvas is laying flat and the design looks good overall, uneven tension is not a problem—it’s a learning curve.
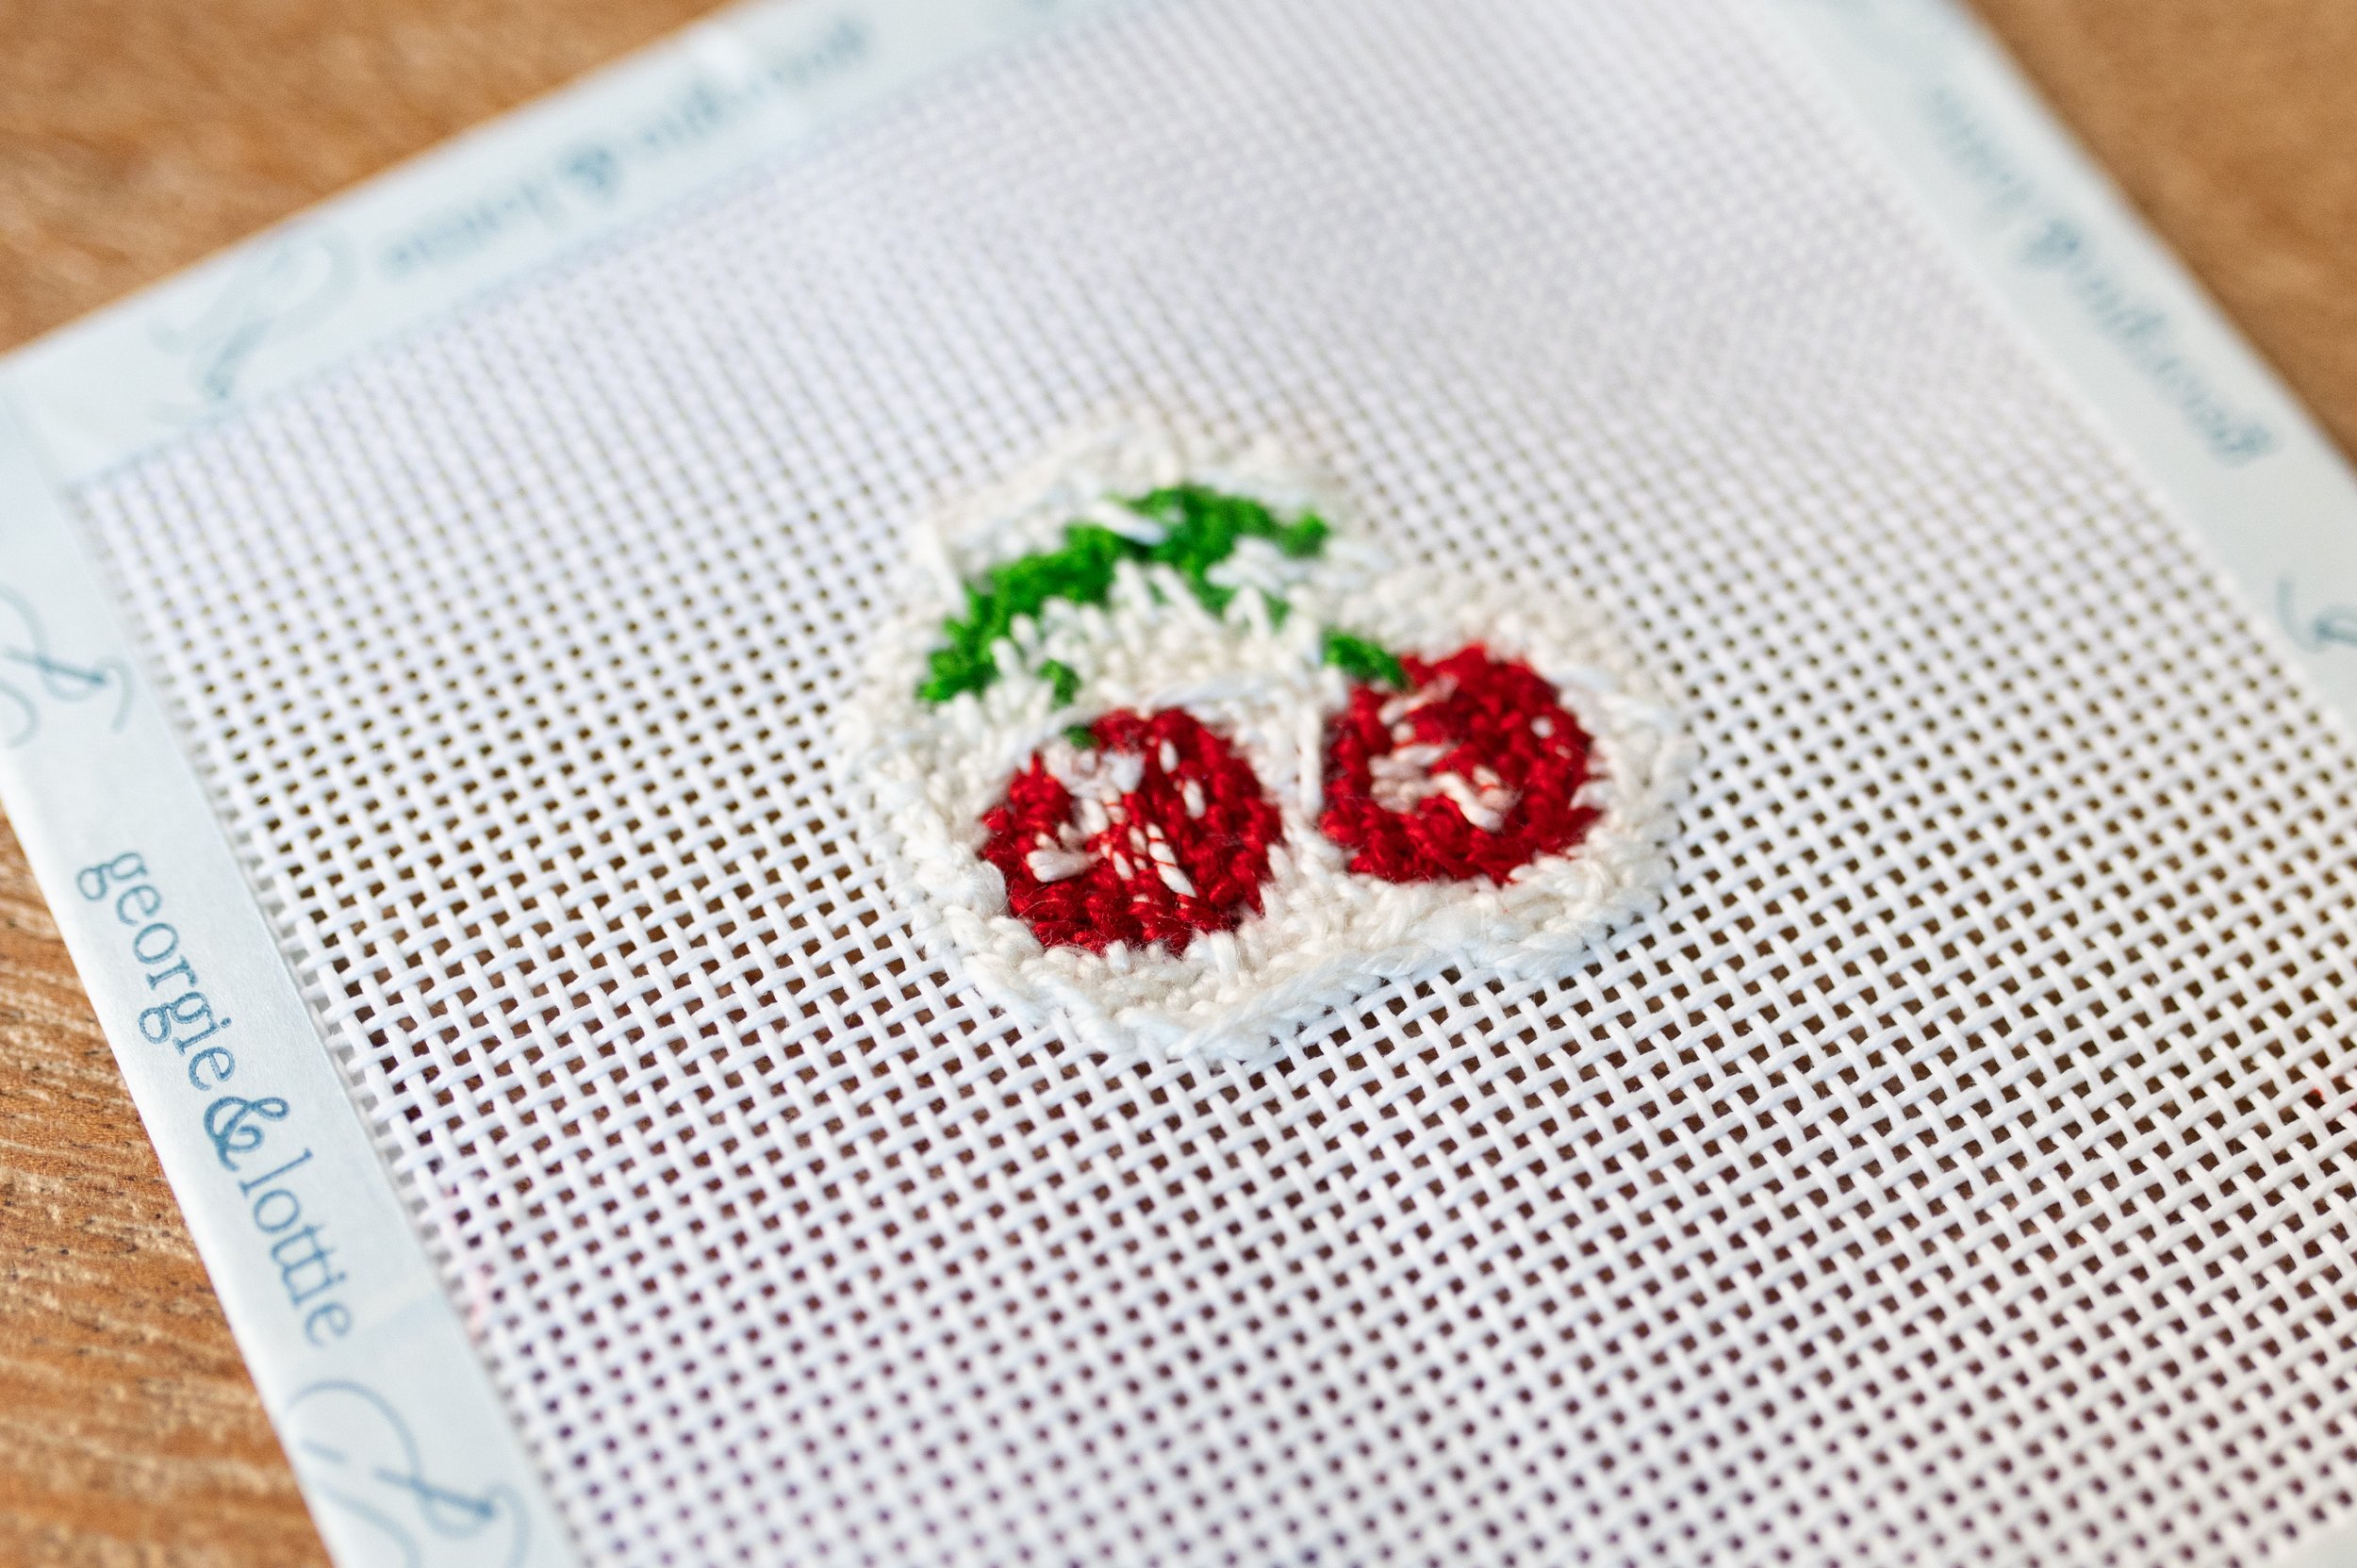
Problem 4: Twisted or Fraying Fiber
What’s happening
Thread twists naturally as you stitch. Fraying can happen when fibers are too long or worked too hard.
What to do
Let your needle dangle occasionally to untwist the fiber
Use shorter lengths of thread (we recommend 12”-15”)
If the fiber looks tired, cut it and restart with a fresh strand
Starting a new thread is not failure. It’s good stitching.
When to leave it
If the stitch looks clean from the front, don’t stress about what the fiber did along the way.
Problem 5: Messy Back Anxiety
Let’s be very clear here.
The back of your canvas is for your eyes only.
A messy back does not mean:
You’re doing it wrong
The piece won’t finish well
You’re a “bad” stitcher
It means you’re stitching.
What to do
Nothing. Truly. Focus on the front.
A neat back is a byproduct of experience, not a requirement for beginners.
Problem 6: You Started With a Dark Fiber and Now Regret It
This happens more often than you think.
What to do
Pause and look at the canvas as a whole.
Can you see the dark fiber in the light fiber parts?
Is it only noticeable to you?
If it genuinely isn’t working visually, this might be a situation where frogging makes sense.
A Word About Frogging (Yes, Taking Stitches Out)
Frogging happens. Sometimes more than once.
We’ve done it ourselves—recently, even—after choosing decorative background stitches that ended up being too complicated around lettering. Not once. Twice.
And you know what? It was the right call.
When frogging is worth it
The stitch choice is fighting the design
The background overwhelms important elements
You know it will continue to bother you if you don’t change it
When it’s not
Tiny inconsistencies
Minor tension differences
Anything you only notice because you’re staring very closely
Frogging is not a failure. It’s an informed decision.
How to Decide What to Fix (and What to Leave)
Before fixing anything, ask yourself:
Does this affect the overall look?
Will fixing it improve my enjoyment?
Or will it create more frustration?
You are allowed to:
Leave it
Fix it
Frog it
Change direction mid-project
There is no moral high ground in needlepoint perfection.
Final Permission Slip
Here it is, officially:
You are allowed to make mistakes.
You are allowed to change your mind.
You are allowed to leave small imperfections.
You didn’t ruin anything.
Keep stitching. Adjust when it matters. Let the rest go.
That’s how confidence is built—one imperfect, very real stitch at a time!